


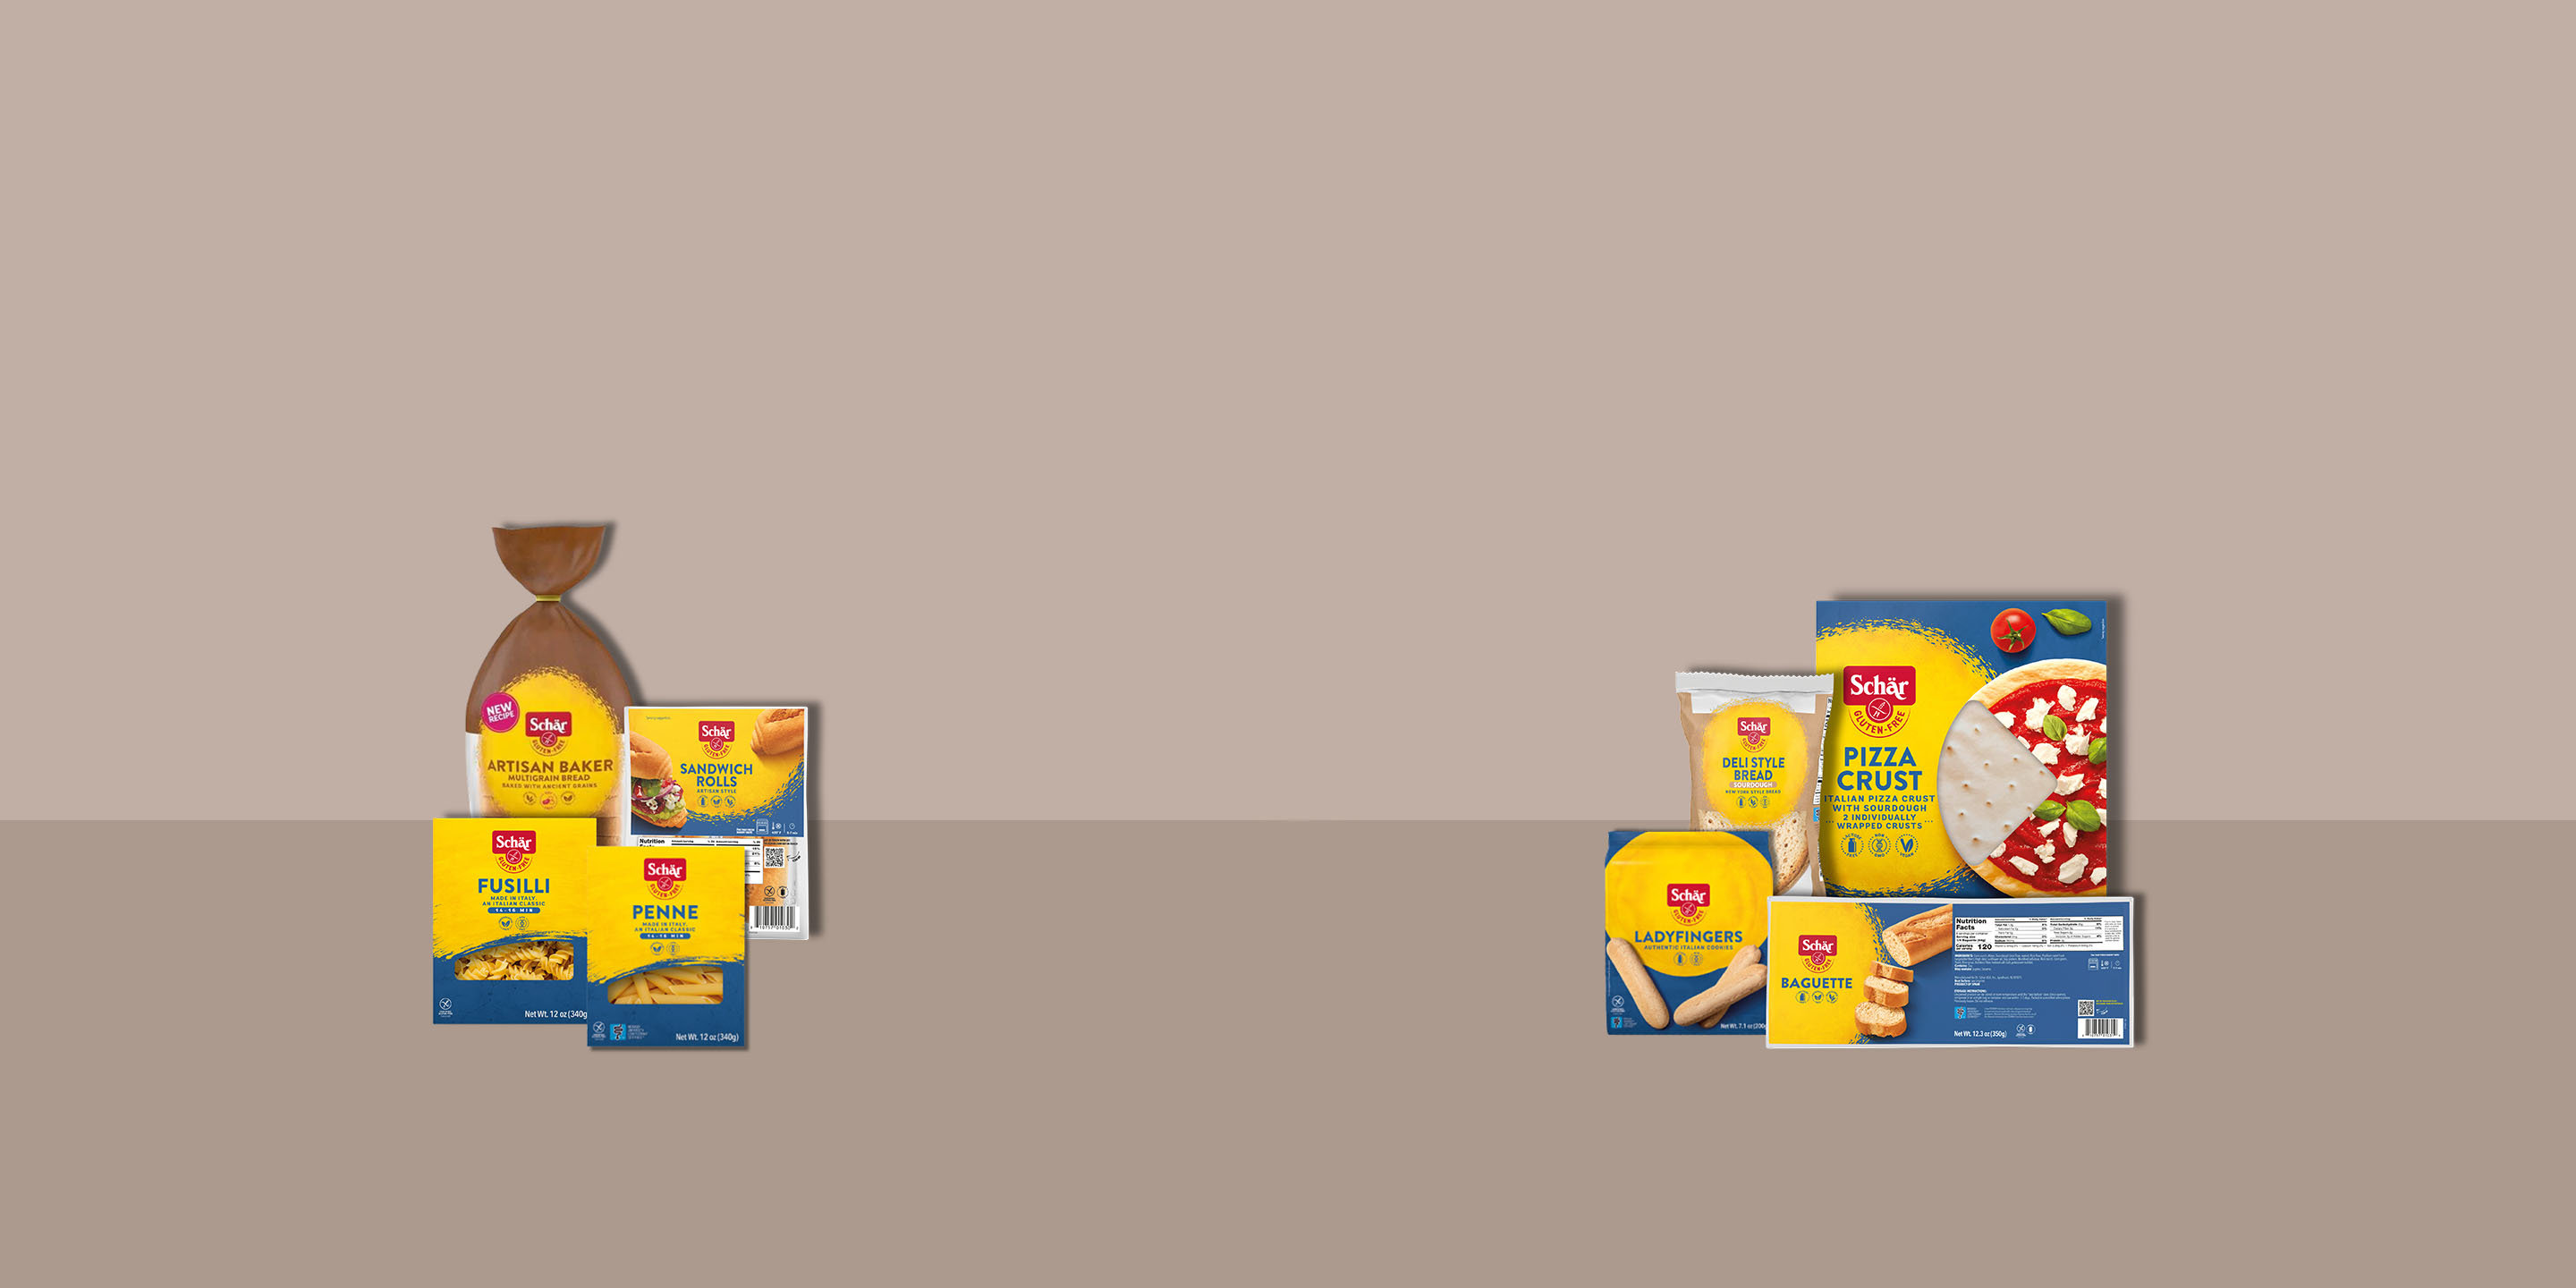
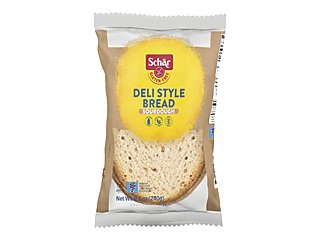
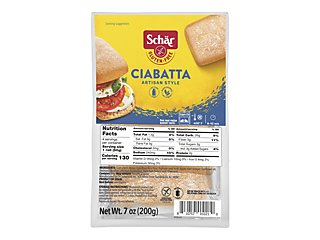
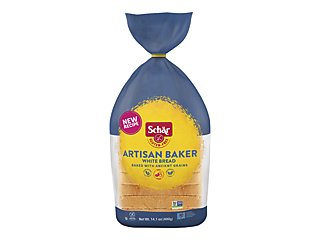
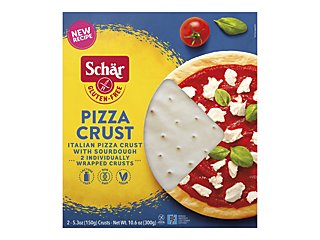
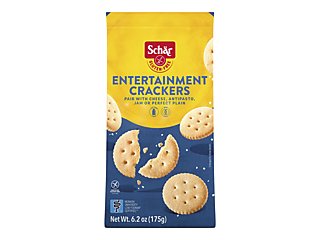
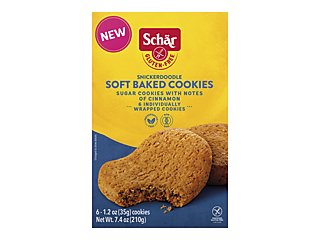
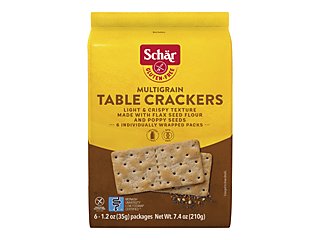
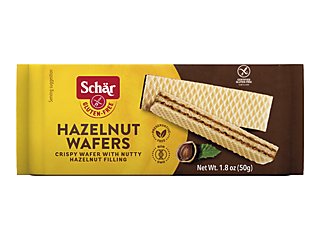
Your New Gluten Free Favorites

free
Shipping
Enjoy savings + $5 flat rate shipping
Discover gluten-free wonders in our Schär Mystery Box
and enjoy savings + $5 flat rate shipping.
Promo details
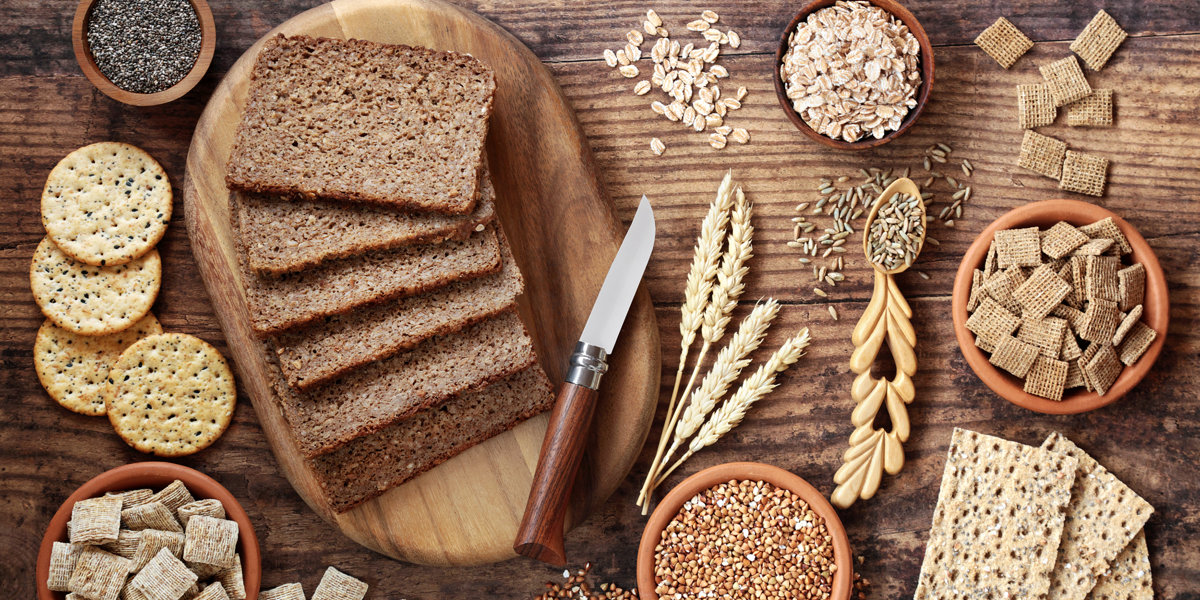
Discover Our Nutritional Worlds
Since the very beginning, we’ve been providing the best resources, knowledge, and delicious products for those suffering from celiac disease and other gluten related disorders.


Join the Schar Club and earn $10 off your next order!
You’re clicks away from joining our community, accessing educational resources and tools for living your best gluten free life!
- Loyalty program
- Inspiration
- Save Recipes
- Create Shopping List
Explore the Whole Schär World
Find gluten free recipes and inspiration that the whole family will love

Committing to a new diet is a common New Year's resolution but one that many people stick to for a couple of weeks before reverting back to their old habits. There's nothing wrong with wanting to make healthy changes to your life - in fact, it's a noble goal - but it's important to make changes you'll be able to maintain over the long term if you want to see results.
Read on schaer.com

Recipe
Let this Better You Breakfast Bake help you on your way to a new you in the New Year! Protein packed, low fat, full of heart healthy veggies...what more could you need to start your day and your New Year off right. This is a perfect make ahead breakfast meal to keep you going all week.
Read on schaer.com

Celiac disease affects each individual differently, and there are more than 200 known symptoms that can occur in the digestive tract, the skin, and other parts of the body. While some people develop the disease as children, others do not experience symptoms until adulthood. The reason why the disease manifests earlier in some people than in others is still relatively unknown.
Read on schaer.com
FAQ
Have a question? Check out our FAQ page for some Frequently Asked Questions. We’re here to help!
Need Some Help?
For the best way to contact us, click below! We have Phone, E-mail, and Contact form options.
Find a Store
If you’re looking to purchase our extended product portfolio in store, you can search by product and zip code using our Store Locator.
Get the Newsletter!
Don't miss any news and promotion, and stay up to date on everything Schär related!